Fortunately, modern artificial intelligence can work wonders, but even the smartest tool needs quality "source material."
In this article, we'll look at how to properly prepare old photos for digital restoration using Memoreel, so the result is not just "good," but stunning.
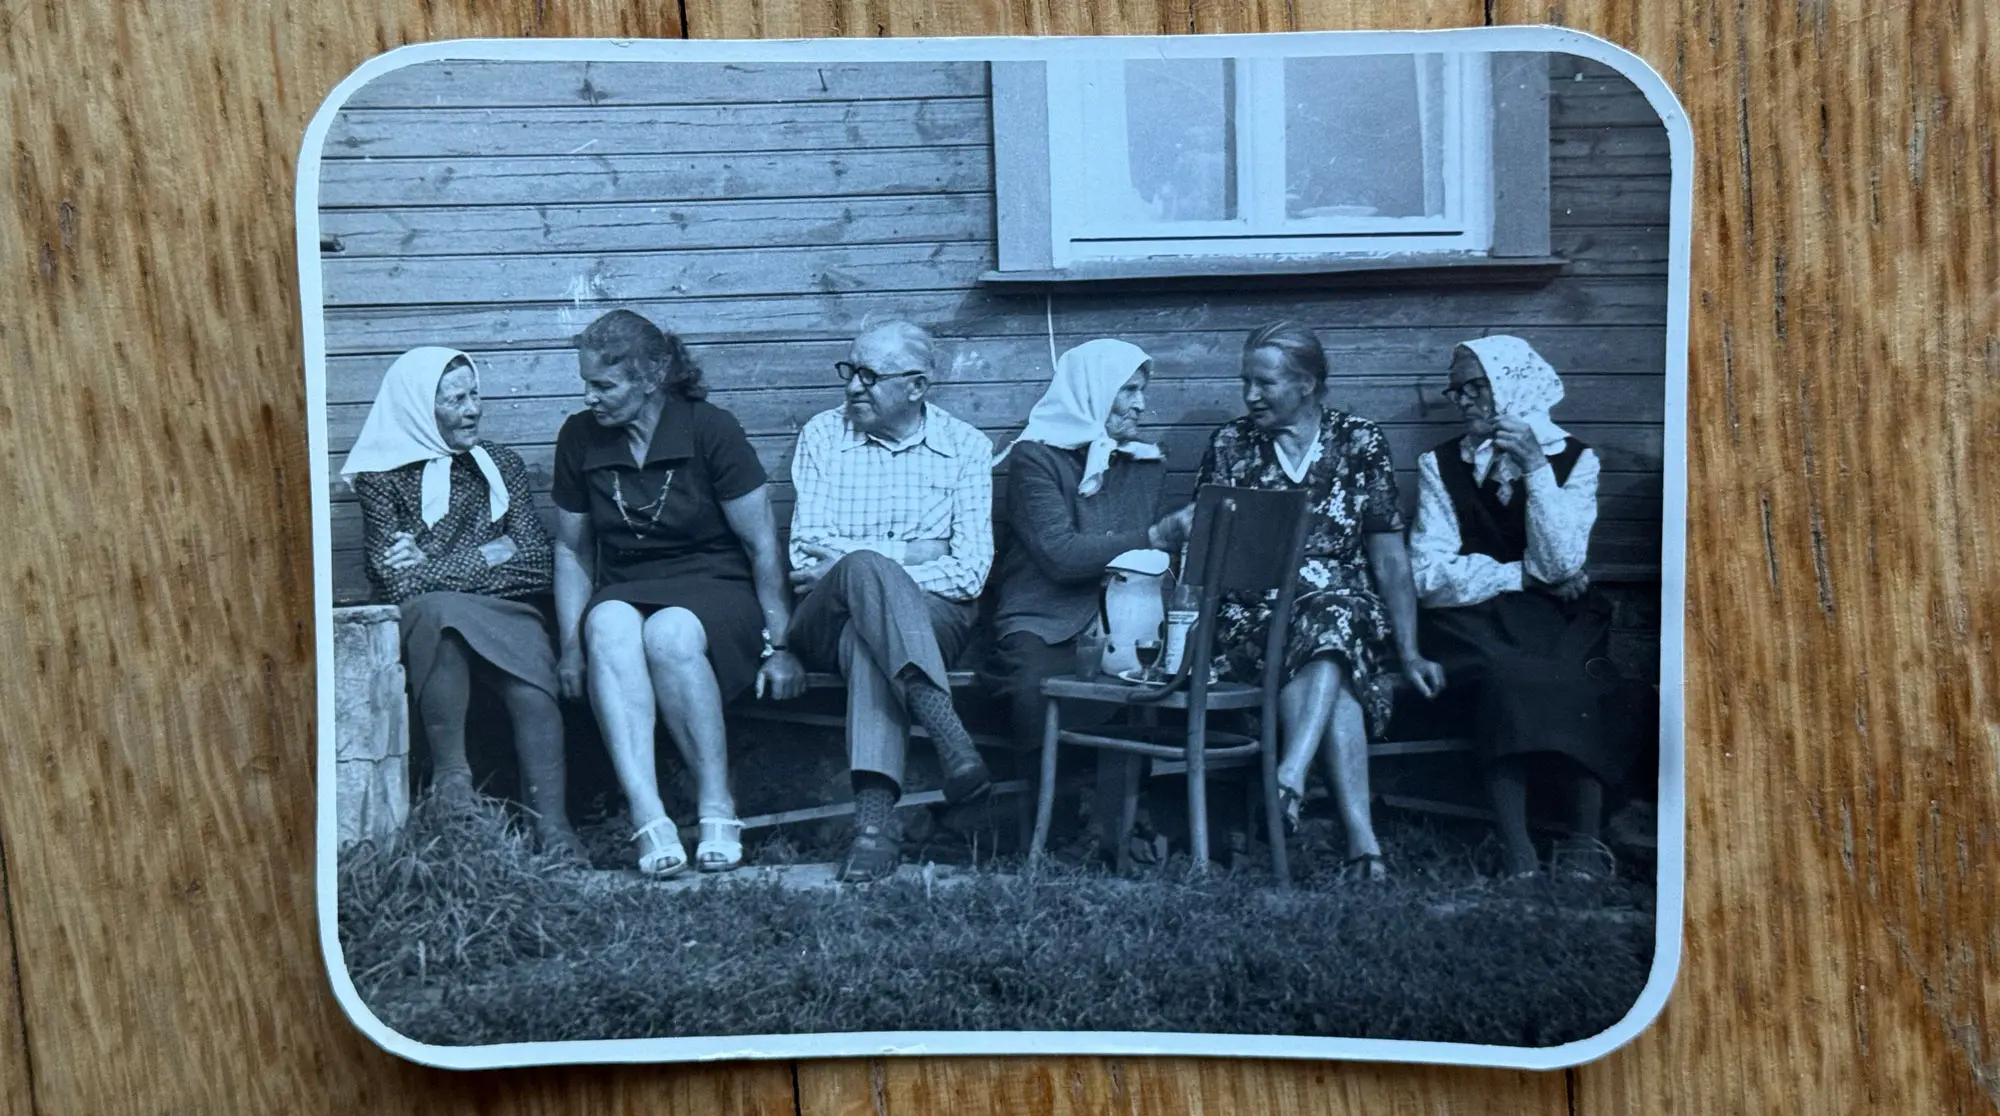
It all starts with digitization. Of course, a professional scanner provides the best quality, but you can achieve excellent results with a regular smartphone if you follow a few basic rules.
How to properly photograph an old photo:
Once the photo is taken, it's important to "trim the excess." Artificial intelligence works better when it doesn't have to analyze album edges, a table, or a rug in the background.
Use the crop tool: You can do this in your phone's gallery or directly in the Memoreel editor (look for the scissors icon).
Golden rule: The less unnecessary information around the photograph itself, the more accurately the AI can recognize faces and textures.

Keep in mind: If you don't crop the image precisely to the edges, the AI will try to "generate" additional background. Some may find this an interesting effect (expanded frame), while others may see it as an unwanted artifact, so it's safer to crop precisely along the photo edge.
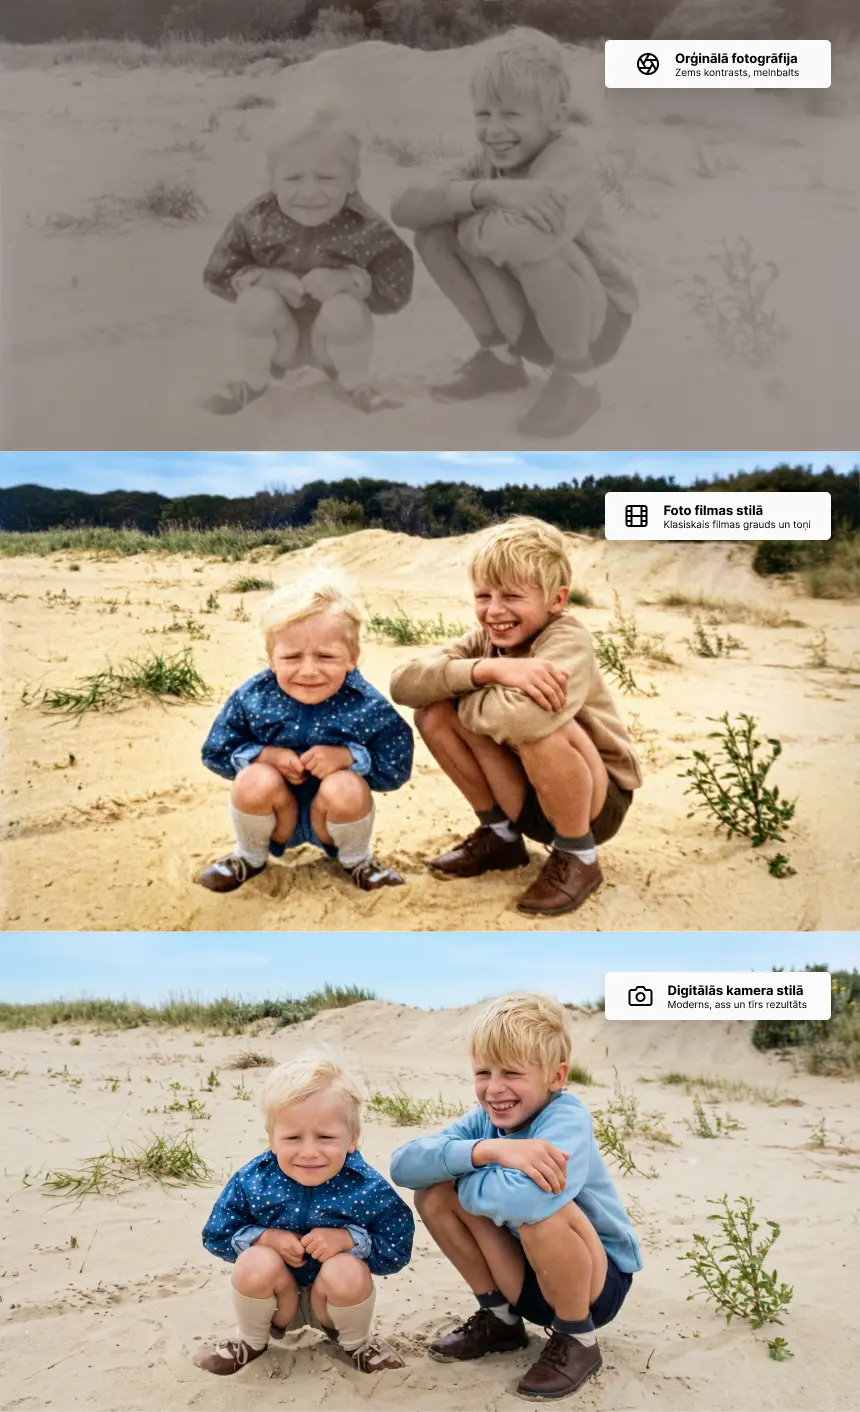
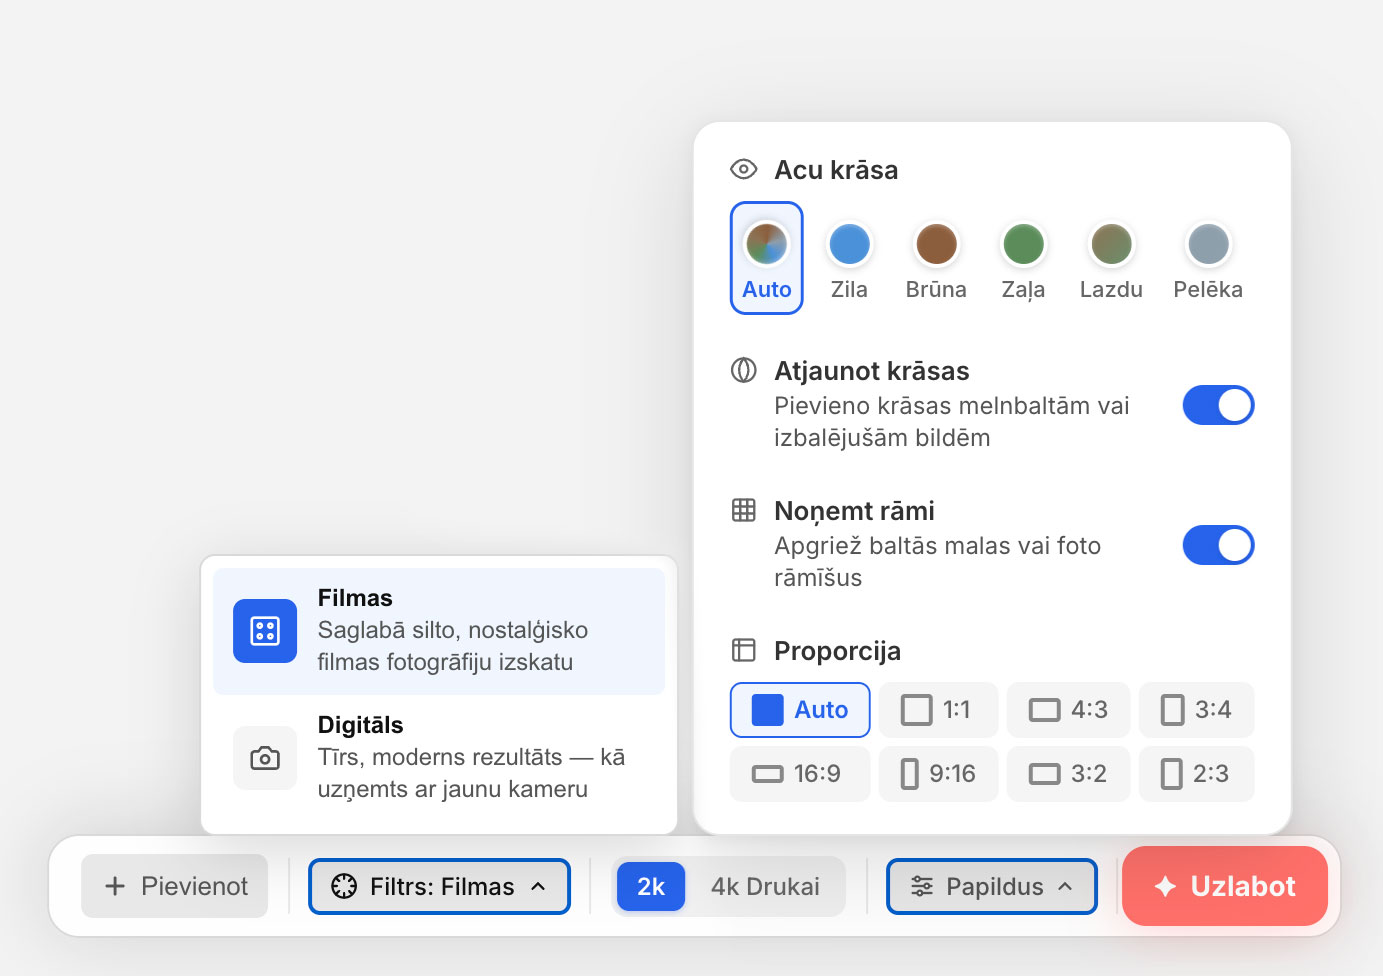
Memoreel offers two main approaches to restoration. The choice depends on your taste and the condition of the original:
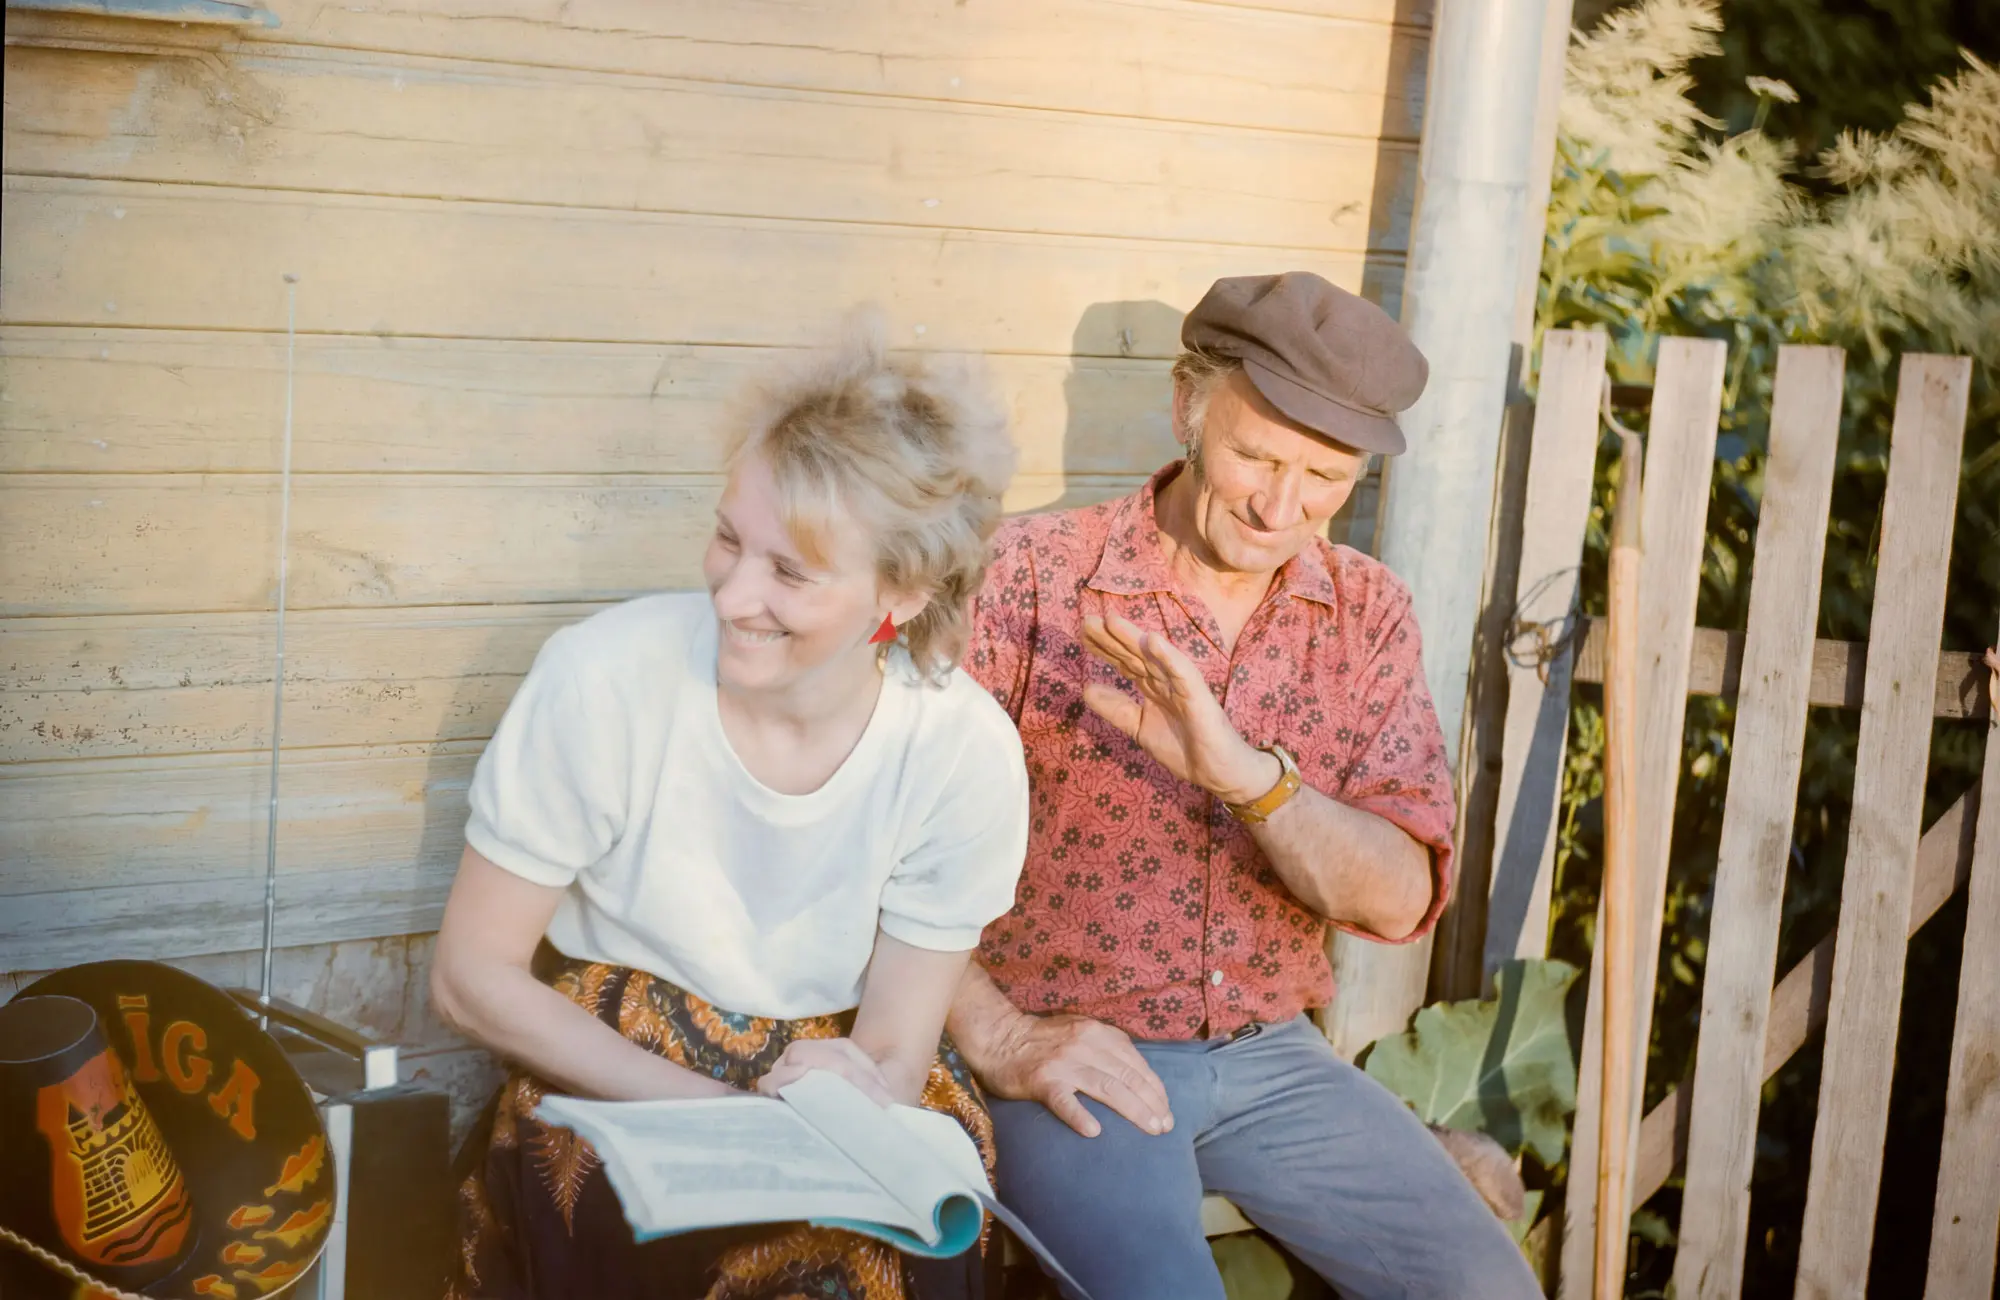
Preserves the classic film grain and warm tones. Tests show that this filter often provides the most natural result, especially if the original is heavily damaged.
Produces a modern, sharp, and very clean image. It often creates a "Wow!" effect, but be careful – if the faces in the original are very poorly visible, this filter may introduce minor visual imperfections.
Tip: Start with one photograph, try both options, and compare which one best suits your family archive.
Memoreel is not just an "enhancer" – it's a tool that lets you fine-tune the details:
Ready to bring your memories back to life?
Head to MemoReel and try restoring your first photograph right now!
Start now First photo restoration is free. No registration required.